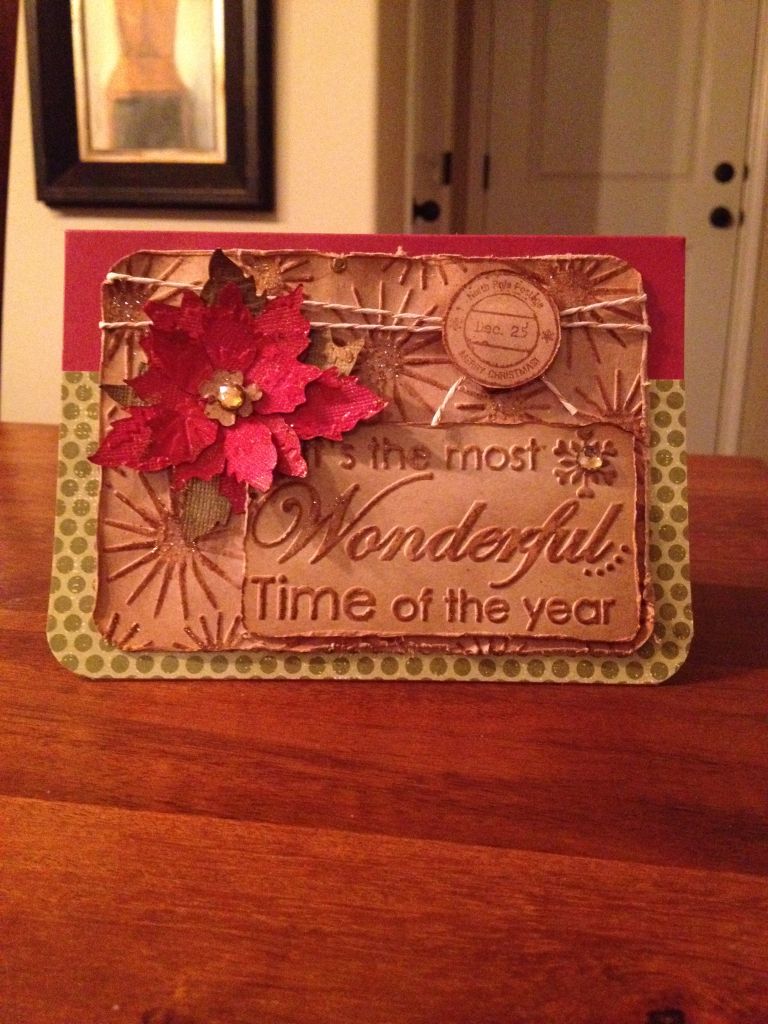
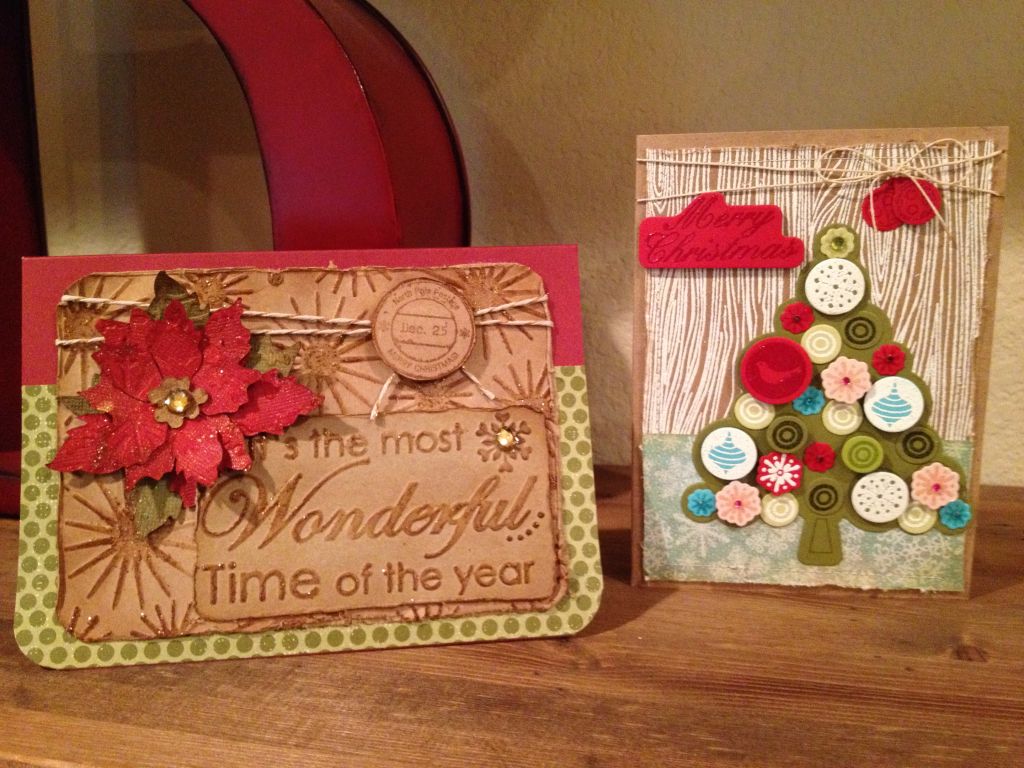
I made another card. I lost a leaf to the poinsettia so I need to make another one. I thought it would look fine without it but the upper left corner looks a little naked. Tomorrow I'm going to do clean and simple cards that I can mass produce so I can get them done.
For those of you who are interested this is what i did:
First I embossed red and green paper then used sand paper to take the color off the high points of the embossing (it's a special paper called core'dinations and has a color core that has a lighter shade of the same color on the inside). The lighter color from the mbossing/sanding doesn't show up in the picture.
Here is the paper pad:

Then I cut out the poinsettia using the Tim Holtz Tattered Poinsettia die. I used some distress ink (by Tim Holtz) and put it around the edges.
This is the tool you use and the ink by Tim Holtz. The tool has Velcro on the bottom and you use foam rectangles that have Velcro on the top that can be replaced as they wear out or you change colors. I have enough of them that I don't have to switch the foam pads often. The color of distress ink pad I used is called Vintage Photo.

Here is the stand I have that I store my blending tools on. I love the retro look of it.

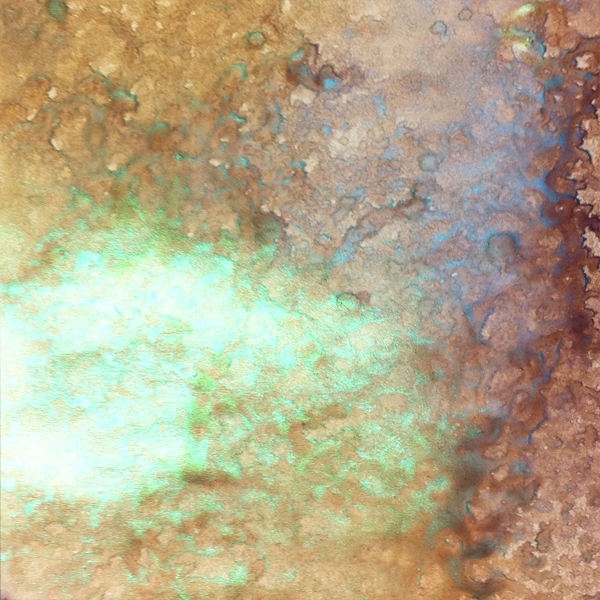
I also sprayed a little mica mist (Lindy's Stamp Gang). I used a couple of different colors. I love this stuff. It doesn't show up in pictures too well. This is what one color looks like:
Then I embossed a thick piece of kraft color paper and used some distress ink on it. Then I used a corner cropper (its called a corner chomper by crop-a-dile) and rounded the corners (I have the 1/4" &1/2" tool, I want one that has 1/8" & 3/8" radius if anyone wants to buy me a christmas present) and then used this tool that you plug in and it distresses the edges.
Here is the corner chomper:

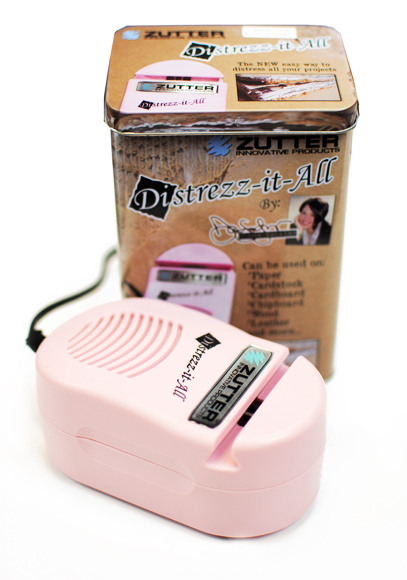
Here is the distressing tool, it's super cool:
Next I used some stickles and put it on the background paper and the poinsettia. The color of the stickles is called Tea Dye

Next I used another embossing folder that has the saying, cut it out, used a smaller corner chopper and distressed with distressing ink and the edge distress thingy, then used the stickles. I had a red premade card and matching envelopes so I used that and added some green polka dot paper on about 3/4ths of the card. It's by Papertray Ink (I love the site) and the paper pad is called distressed dots.

I cropped the corners, tied some twine around the kraft paper part and used a small round stamp I got at Hobby Lobby the other day on sale for a couple of dollars and put it over the knot of the twine. It sounds really involved but didn't take me long to make.
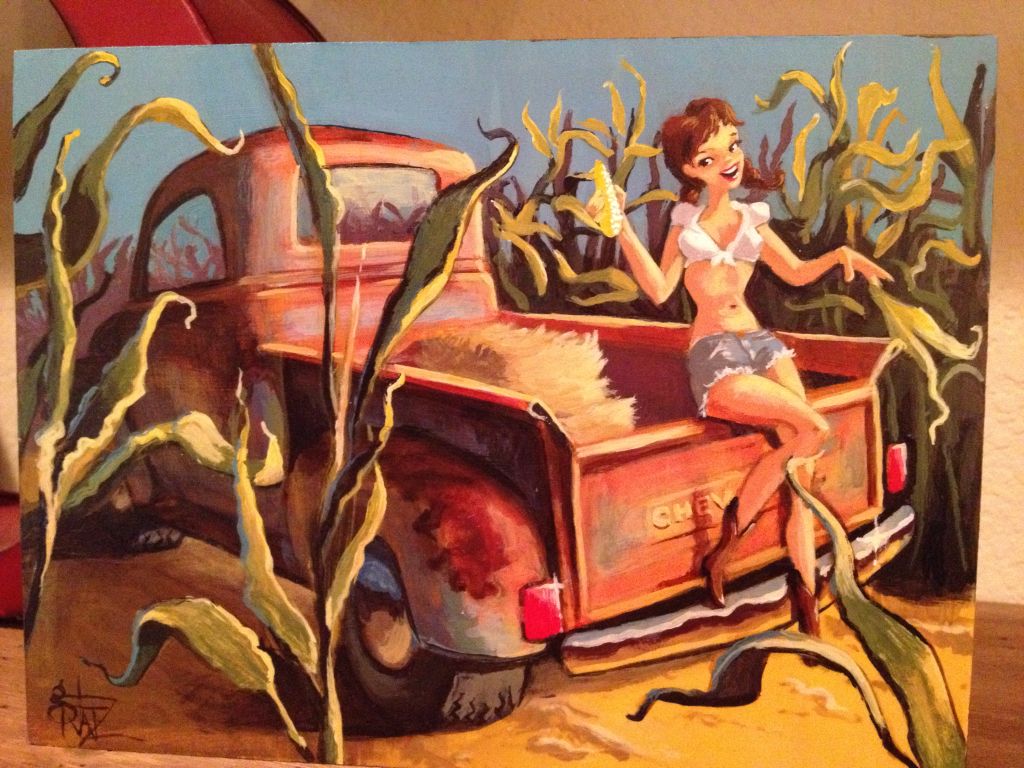
And now for something random:
This girl who worked with my husband at his last job painted this picture. She knew he had a Chevy pickup project truck but I don't know if she knew I am from Nebraska (Cornhusker).

It's really small, 4x6 I think. My camera on my phone didn't take a clear picture of it. It really is amazing when you see how small it is and what a good job she did. We are going to have it framed it in a weathered wood type of frame if we can find one.